Bao, God of Dumplings – Free Pattern!

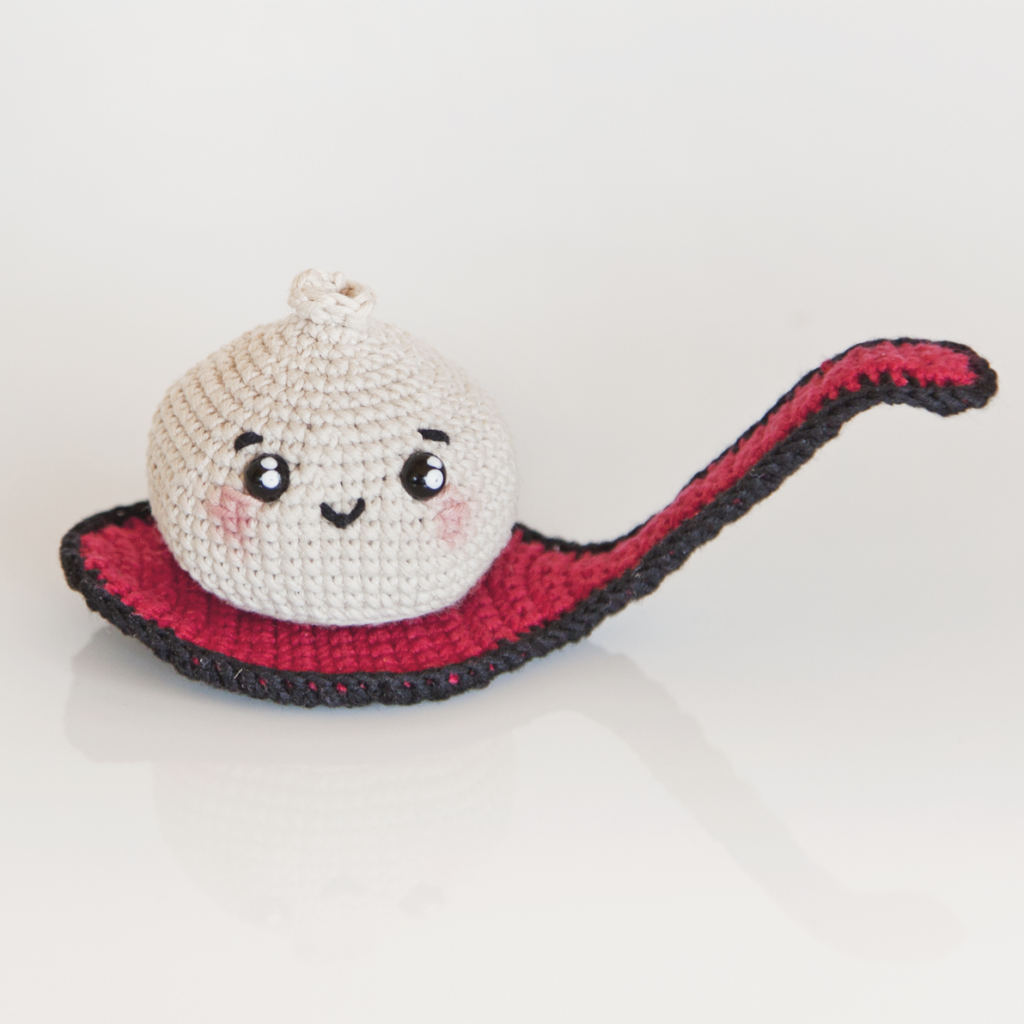
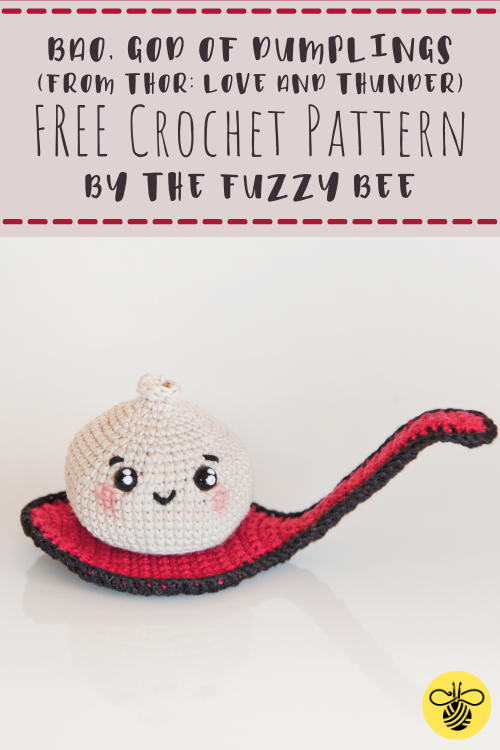
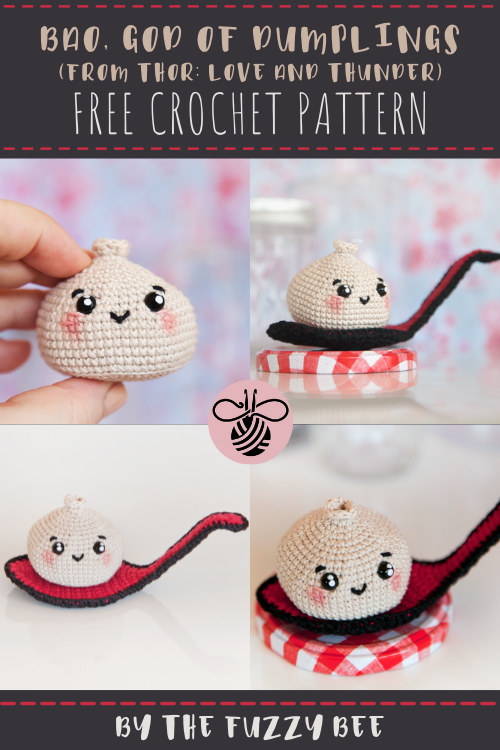
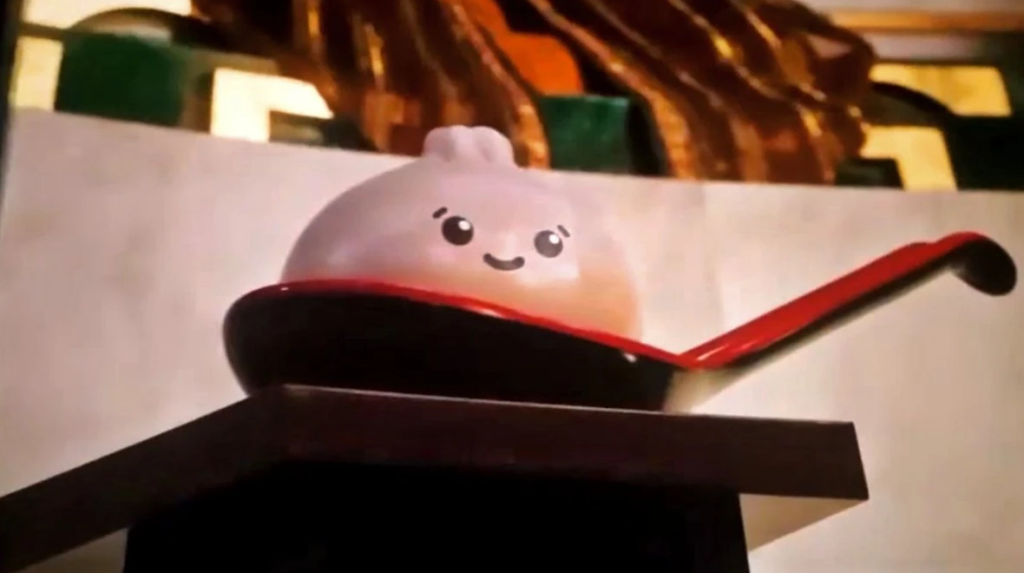
Have you seen Thor: Love and Thunder yet?? I watched it the other day and really enjoyed the film! He might have only been on screen for 30 seconds, but I loved Bao, God of Dumplings (who wouldn’t!) and couldn’t resist creating a pattern to make my own Bao to share with all of you!

This pattern is written in UK TERMS. See my handy conversion chart for UK / US terms here.

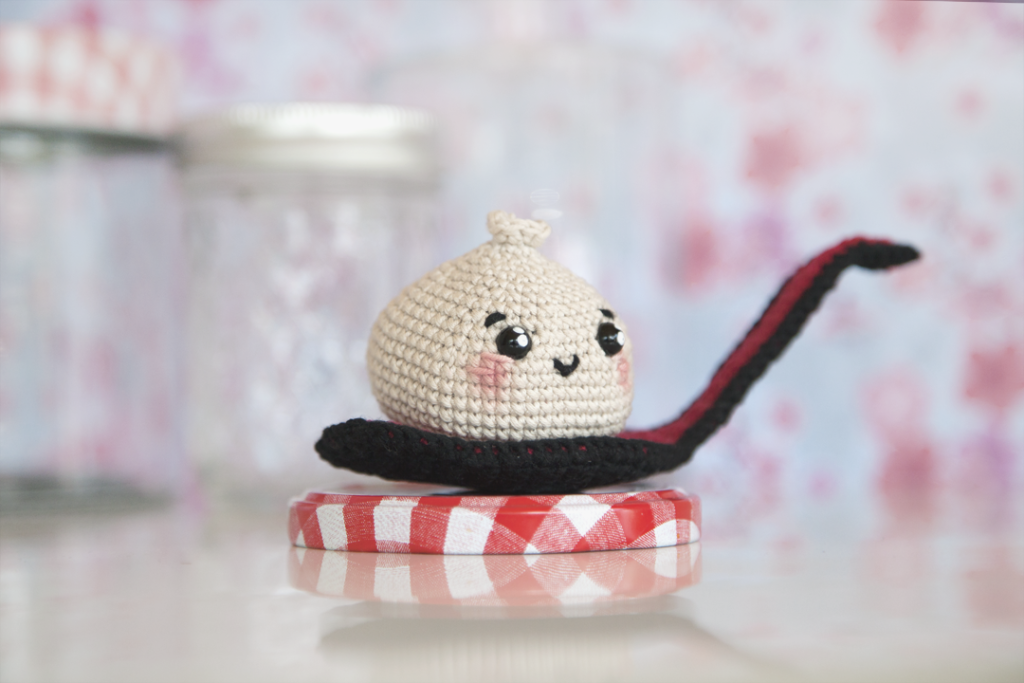
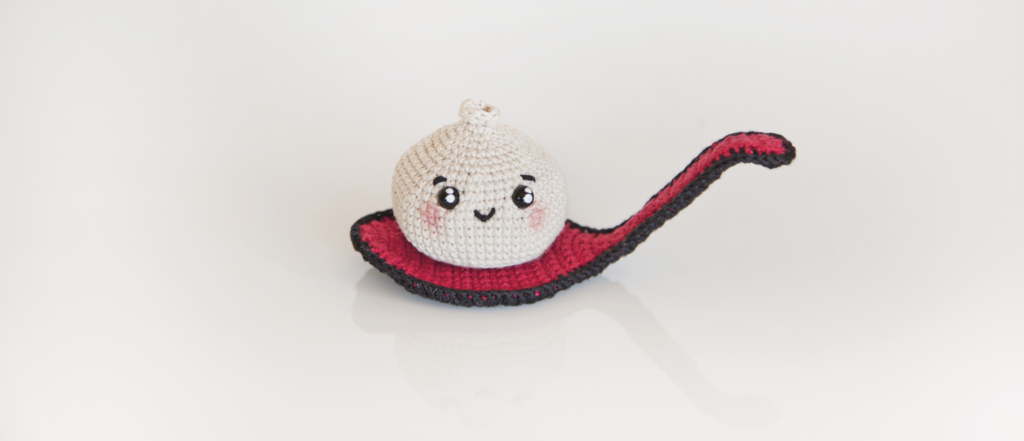
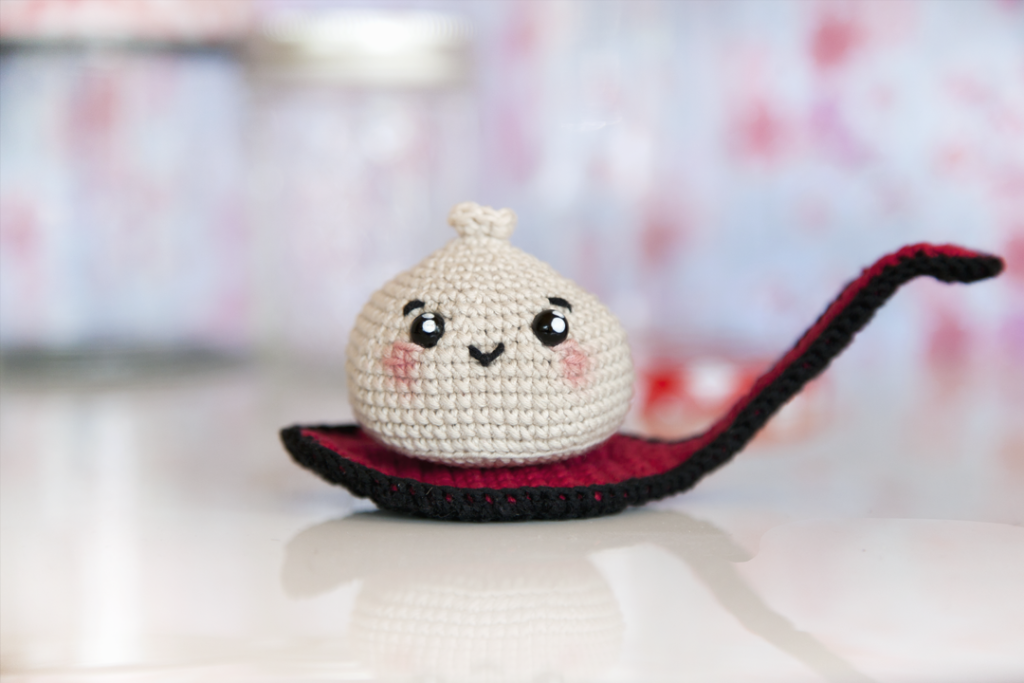
The size of your Bao will vary based on the kind of yarn you use. For the pictured doll, I used Infinity Hearts Rose 8/4 in Sand, Dark Red and Black. I also used Pink for the cheeks, but any pink or red yarn will do for the details!

When made using Infinity Hearts Rose 8/4 and a 2mm hook, Bao is 6cm wide and 5.5cm tall. The resting spoon is 16cm long.
Materials

  • Infinity Hearts Rose 8/4 or your choice of yarn in:
    – Beige (approx 7g / 25m / 27y)
    – Red (approx 4g / 14m / 15y)
    – Black (approx 5g / 18m / 19y)
    – Pink (very small amount for cheek detail – optional)
  • 2 mm hook (or hook size according to yarn label)
  • A short (approx 18 cm) length of wire
  • 7mm (recommended size) safety eyes
  • (optional) White marker pen / paint for eye details
  • Toy Stuffing
  • Stitch Marker 
  • Large-eyed needle
  • Scissors
  • Cosmetic Blush (optional)

Abbreviations (UK Terms)

  • Ch – Chain
  • Dc – Double Crochet (UK)
  • HTR – Half Treble Crochet (UK)
  • TR – Treble Crochet (UK)
  • MR – Magic Ring
  • St – Stitch
  • Sl st – Slip Stitch
  • sk – skip
  • BLO – Back Loops Only
  • FLO – Front Loops Only
  • Inc – Increase
  • Inv Dec – Invisible Decrease
  • Rnd – Round
  • DNFO – Do not fasten off
  • FO – Fasten off

Note: If you are making this pattern for a young child, please do not include the wire, and I would suggest embroidering the eyes instead of using safety eyes.
Bao - God of Dumplings Pattern by The Fuzzy Bee

Bao

In beige,
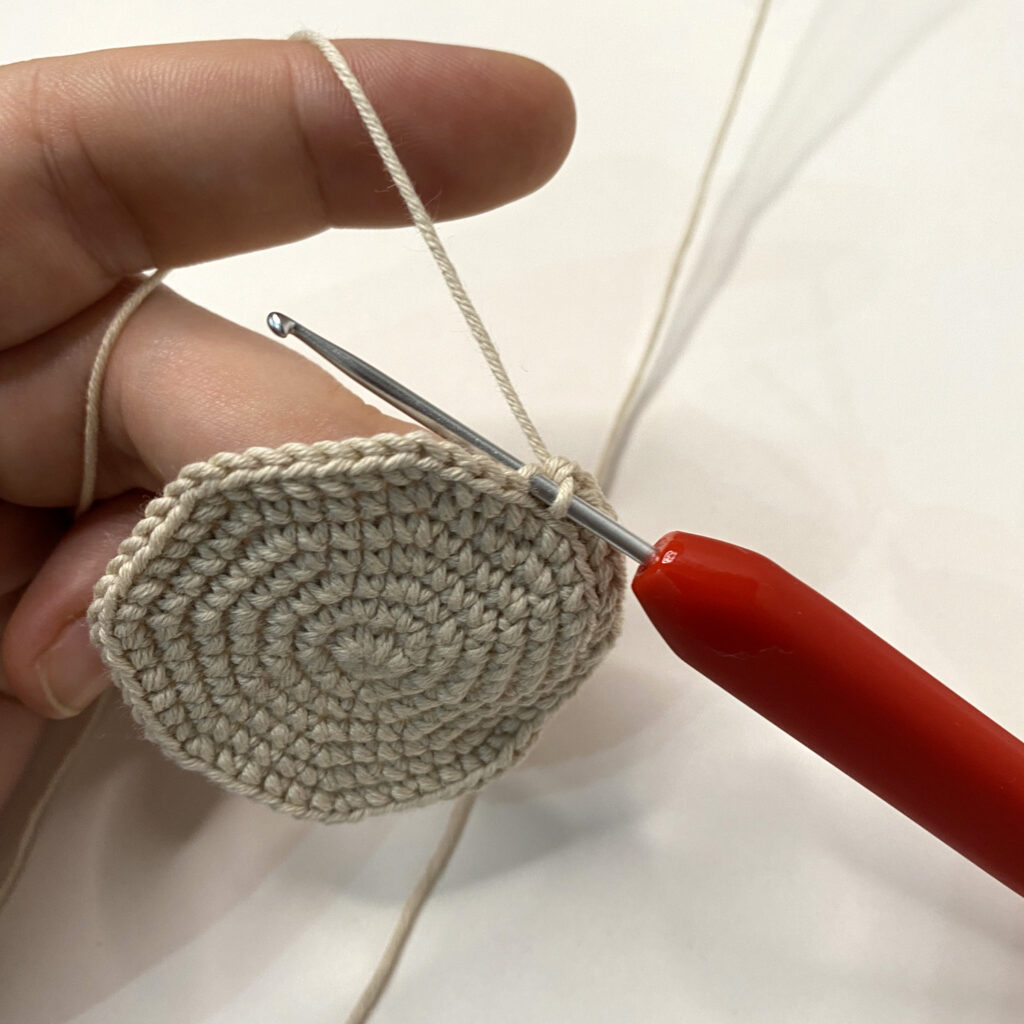
1: 8 dc in MR (8)
2: Inc in each st (16)
3: [1 dc, inc] x 8 (24)
4: [2 dc, inc] x 8 (32)
5: [3 dc, inc] x 8 (40)
6: [4 dc, inc] x 8 (48)
7: [5 dc, inc] x 8 (56)
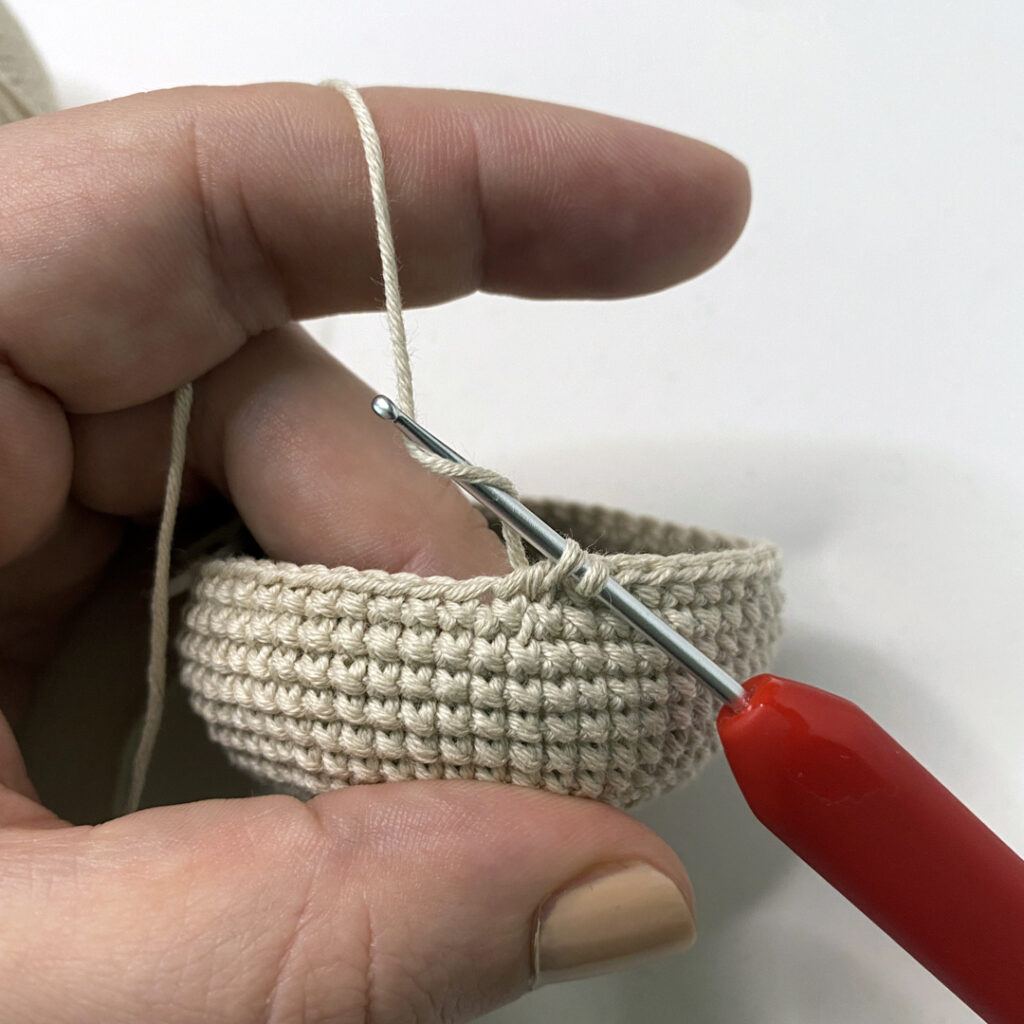
8: In BLO, [27 dc, inc] x 2 (58) (photo right)
9 – 12 (4 rnds): Dc in each st (58)
13: [27 dc, inv dec] x 2 (56)
14: [12 dc, inv dec] x 4 (52)
15: [11 dc, inv dec] x 4 (48)
16: 5 dc, inv dec, [10 dc, inv dec] x 3, 5 dc (44)
17: [9 dc, inv dec] x 4 (40)
18: 4 dc, inv dec, [8 dc, inv dec] x 3, 4 dc (36)
19: [7 dc, inv dec] x 4 (32)
 
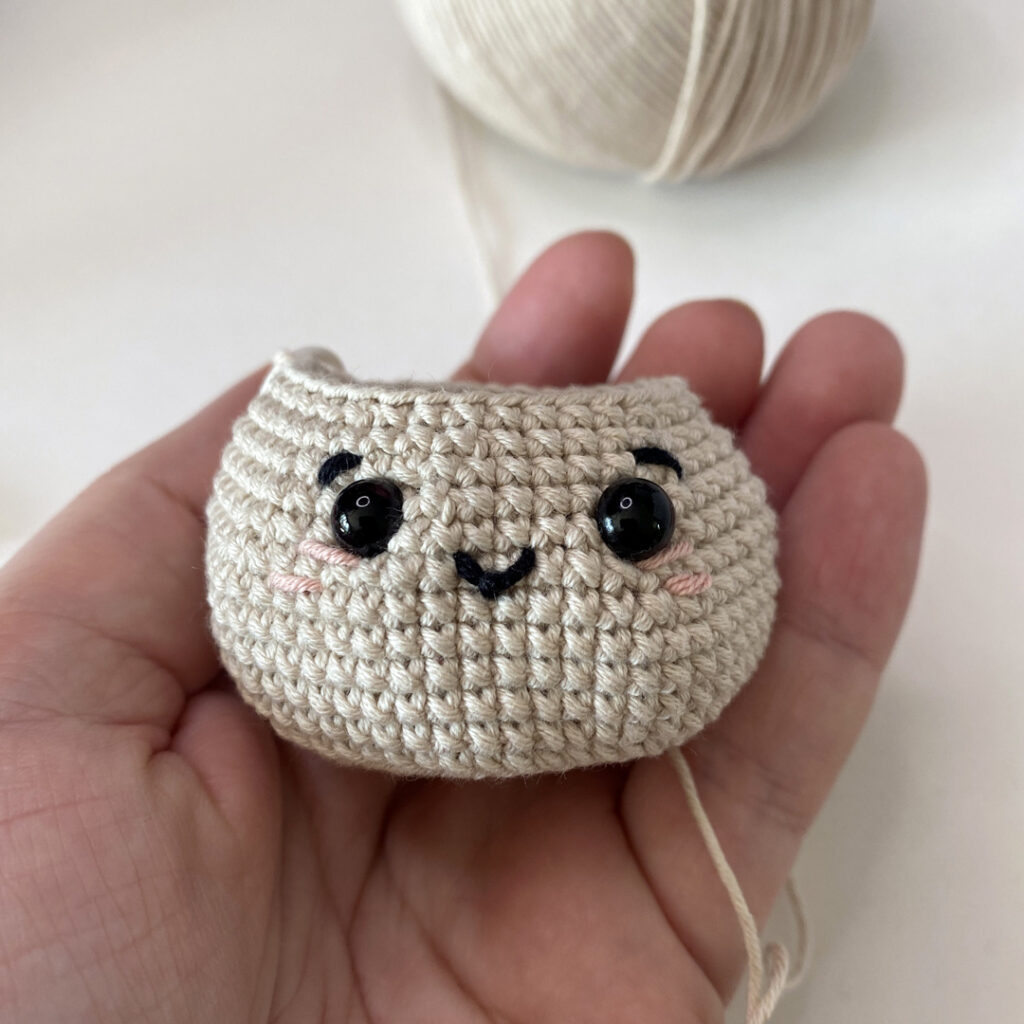
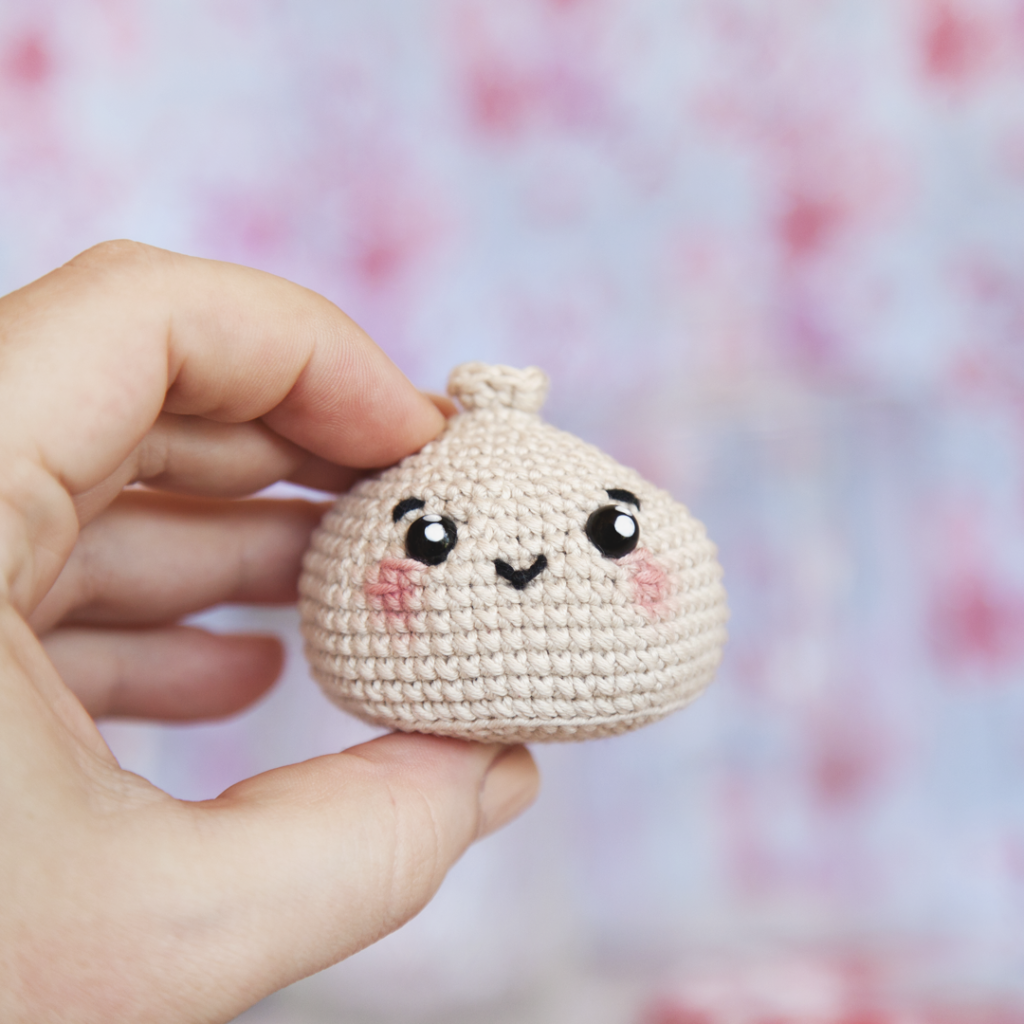
It’s time to place the eyes and add the facial details. It doesn’t really matter which part of the shape you decide is the front – I decided to place my working stitch to the left side. Bao’s facial details are important – the eyebrows and mouth help give him his cute personality!
Eyes:
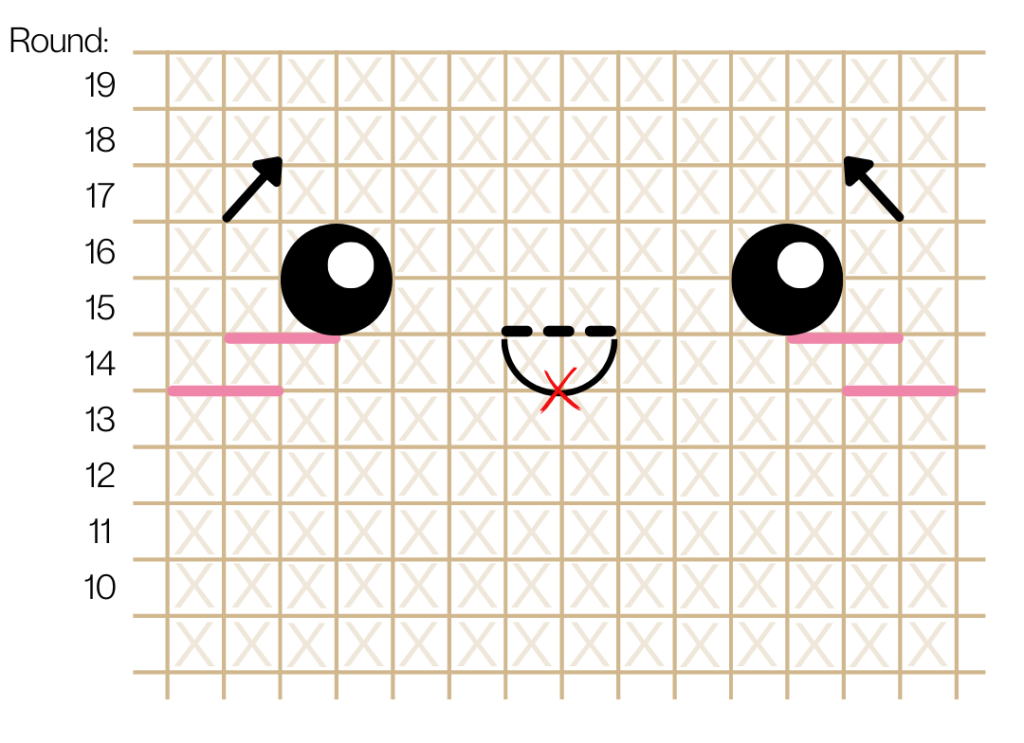
Using 7mm safety eyes, I placed the eyes between rounds 15 and 16, with 6 visible stitches between them. 
Optional – use a white marker or white paint to add the cute highlights as seen on the character. If you do not want to use safety eyes, you could embroider the eyes using whatever method you wish.
Eyebrows:
Using black yarn or thread, sew an eyebrow in place above each eye. Starting on round 17, one stitch away from the outside edge of the eye, sew a short line diagonally upwards, across one stitch, towards the centre of the face (see arrows on diagram above).
 
Mouth:
I sewed a line across the two central stitches between the eyes, between rounds 14 and 15 (see dotted line on diagram above). I then made the smile shape by inserting the needle from the back (inside the dumpling) to the front (outside the dumpling) through the centre stitch between rounds 13 and 14 (marked as a red ‘X’ on the diagram). I then ‘looped’ the thread around the mouth line and re-inserted the needle in the same stitch from front to back to create the ‘curve’.
 
Cheeks:
The cheeks can be added however you like – one line, two lines, several short ‘freckle’ style lines, or even just with cosmetic blush and no sewing at all. I chose to sew two lines for each ‘cheek’ using pink yarn. I placed them underneath the eye as pictured in the diagram above. I also eventually ended up using cosmetic blush for a stronger effect.

Continue making the dumpling as follows:

Add some stuffing to the base of your dumpling and continue adding as you go.
 
20: 3 dc, inv dec, [6 dc, inv dec] x 3, 3 dc (28)
21: [5 dc, inv dec] x 4 (24)
22: [2 dc, inv dec] x 6 (18)
 
Top up the stuffing until the dumpling is firm.
 

23: [1 dc, inv dec] x 6 (12)

24: [1 dc, inv dec] x 4 (8)
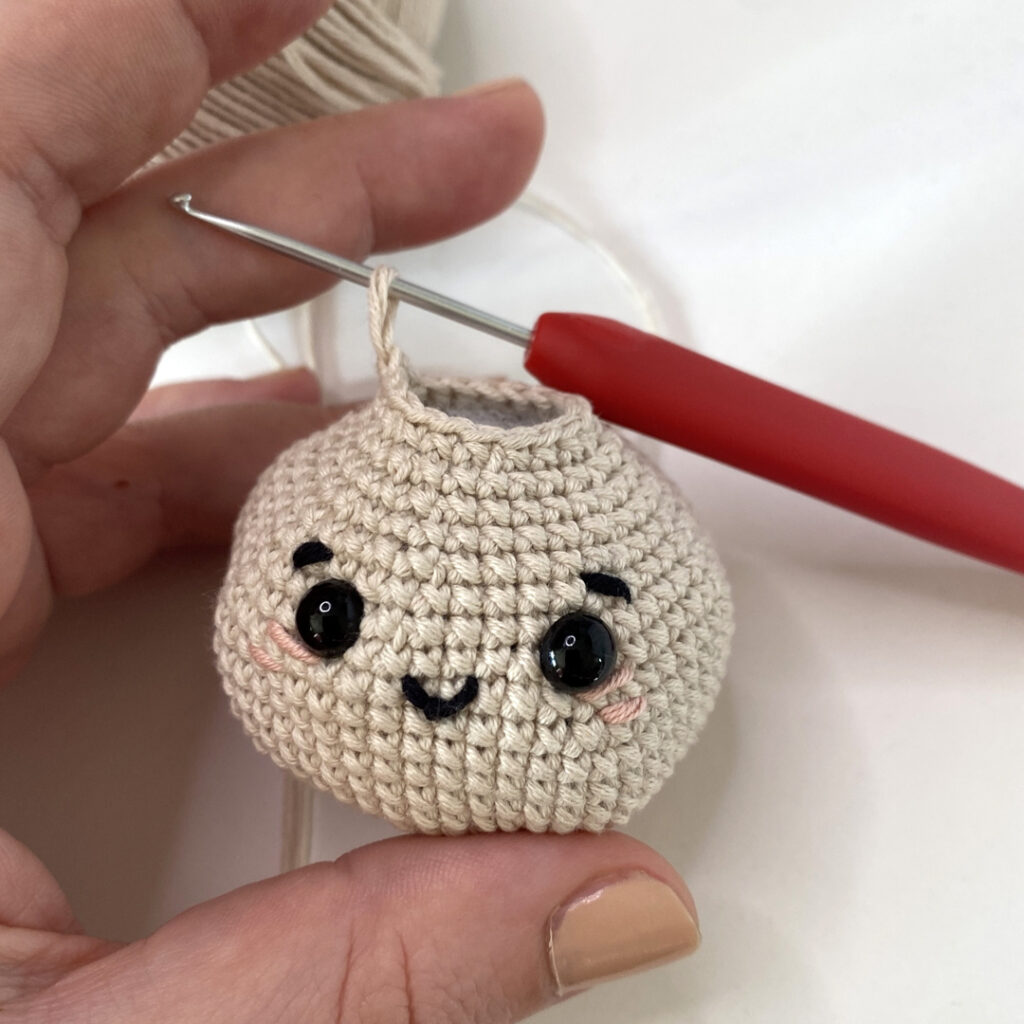
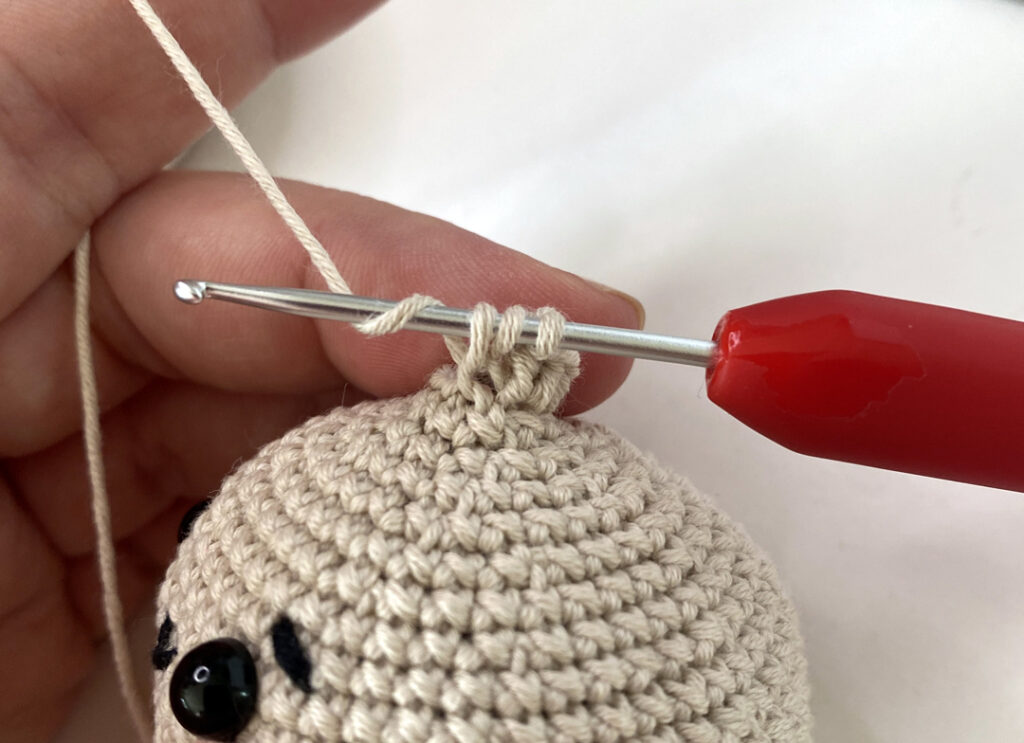
25: In FLO, *work 1 htr in the next st, then 2 tr in the next st*. Repeat between *–* a further 3 times. (12)
 
Sl st into the top of the first htr stitch to join. FO leaving a long (approx 20 cm) yarn tail. 


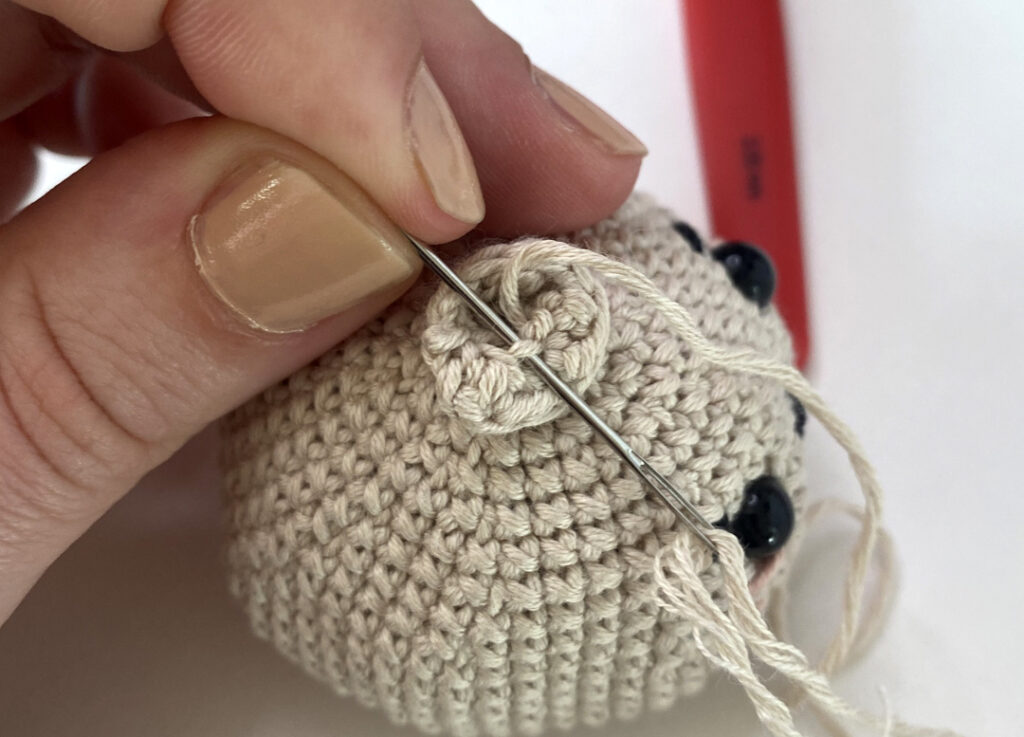
Thread a needle onto the end of the yarn tail and carefully weave the yarn tail through the nearest stitch back to the exposed 8 back loop stitches.
 
Top up the stuffing once more if needed, then sew the 8 back loop stitches closed. Ensure the hole at the top is fully closed, then hide the yarn tail inside the dumpling body.

SPOON

Make 2 of the spoon pattern, the first in red and the second in black. Do not fasten off the second spoon (in black).
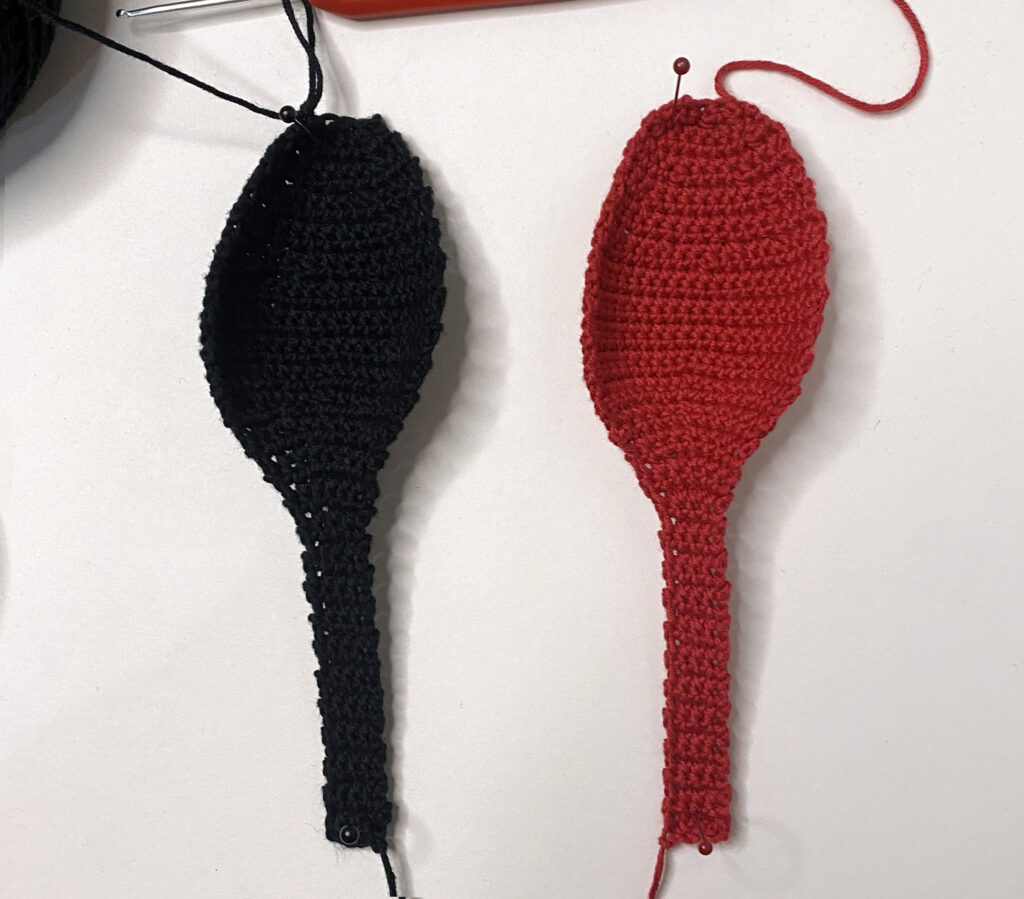
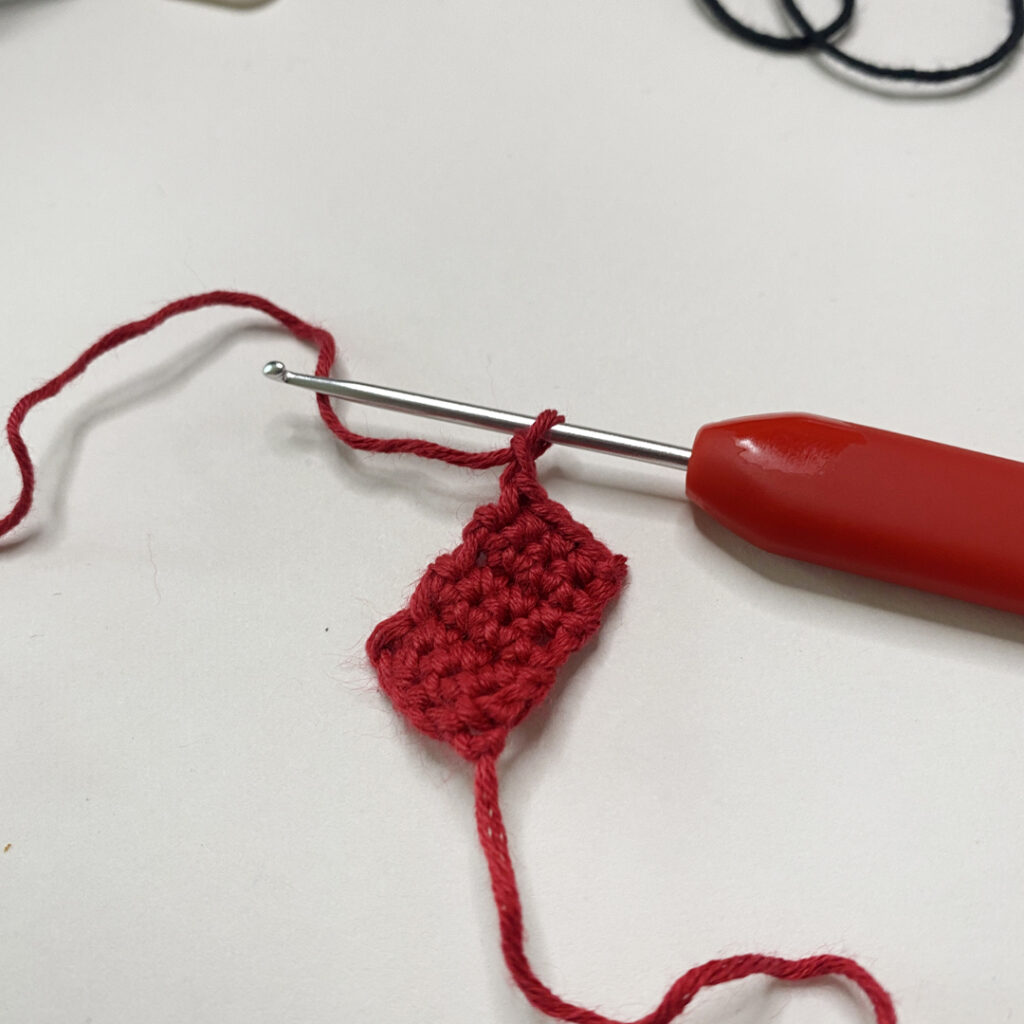
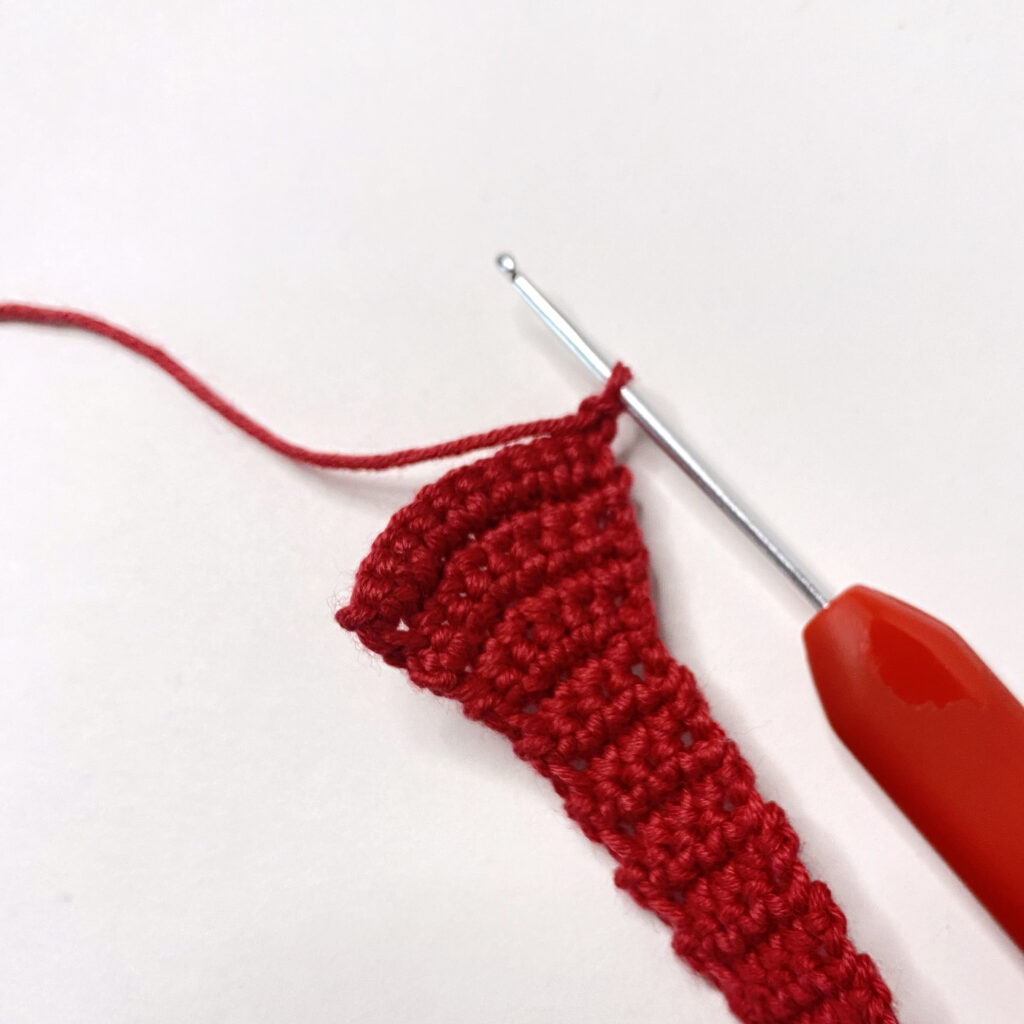
In red yarn, chain 5.
1: Skipping the first chain, 1 dc in each ch. Ch 1 and turn (4)
2 – 22 (21 rows): 1 dc in each st. Chain 1 and turn (4)
23: 1 dc, inc, inc, 1 dc. Chain 1 and turn (6)
24: 1 dc in each st. Chain 1 and turn (6)
25: 2 dc, inc, inc, 2 dc. Chain 1 and turn (8)
26: 1 dc in each st. Chain 1 and turn (8)
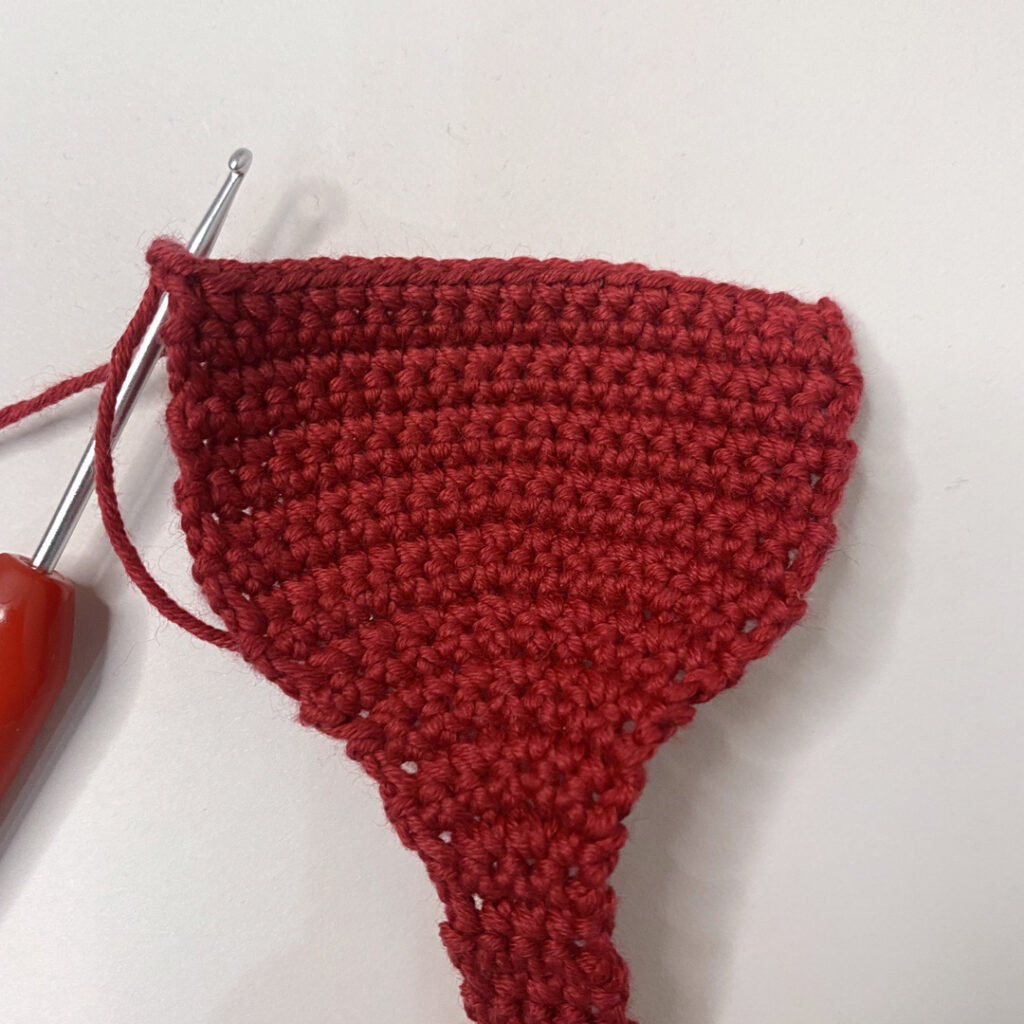
27: 1 dc, inc, 1 dc, inc, 2 dc, inc, 1 dc. Chain 1 and turn (11)
28: 1 dc in each st. Chain 1 and turn (11)
29: [1 dc, inc] x 5, 1 dc. Chain 1 and turn (16)
30: 3 dc, inc, 3 dc, inc, 4 dc, inc, 3 dc. Chain 1 and turn (19)
31: 9 dc, inc, 9 dc. Chain 1 and turn (20)
32 – 37 (6 rows): Dc in each st. Chain 1 and turn (20)
38: 9 dc, dec, 9 dc. Chain 2 and turn (19)
39: 2 dc, dec, 2 dc, dec, 3 dc, dec, 2 dc, dec, 2 dc. Chain 1 and turn (15)
40: Dc in each st. Chain 1 and turn (15)
41: Dc in each st. Chain 1 and turn (15)
42: 2 dc, dec, 7 dc, dec, 2 dc. Chain 1 and turn (13)
43: Dc in each st. Chain 1 and turn (13)
44: 3 dc, dec, 3 dc, dec, 3 dc. Chain 1 and turn (11)
45: Dc in each st. Chain 1 and turn (11)
46: 1 dc, dec, 5 dc, dec, 1 dc. Chain 1 and turn (9)
47: 1 dc, dec, 3 dc, dec, 1 dc. Chain 1 and turn (7)
48: 3 dec, sl st in the next st and FO red yarn.

Now make a second spoon in black yarn, but do not fasten off the yarn at the end of row 48. Chain 1.

To assemble the spoon:
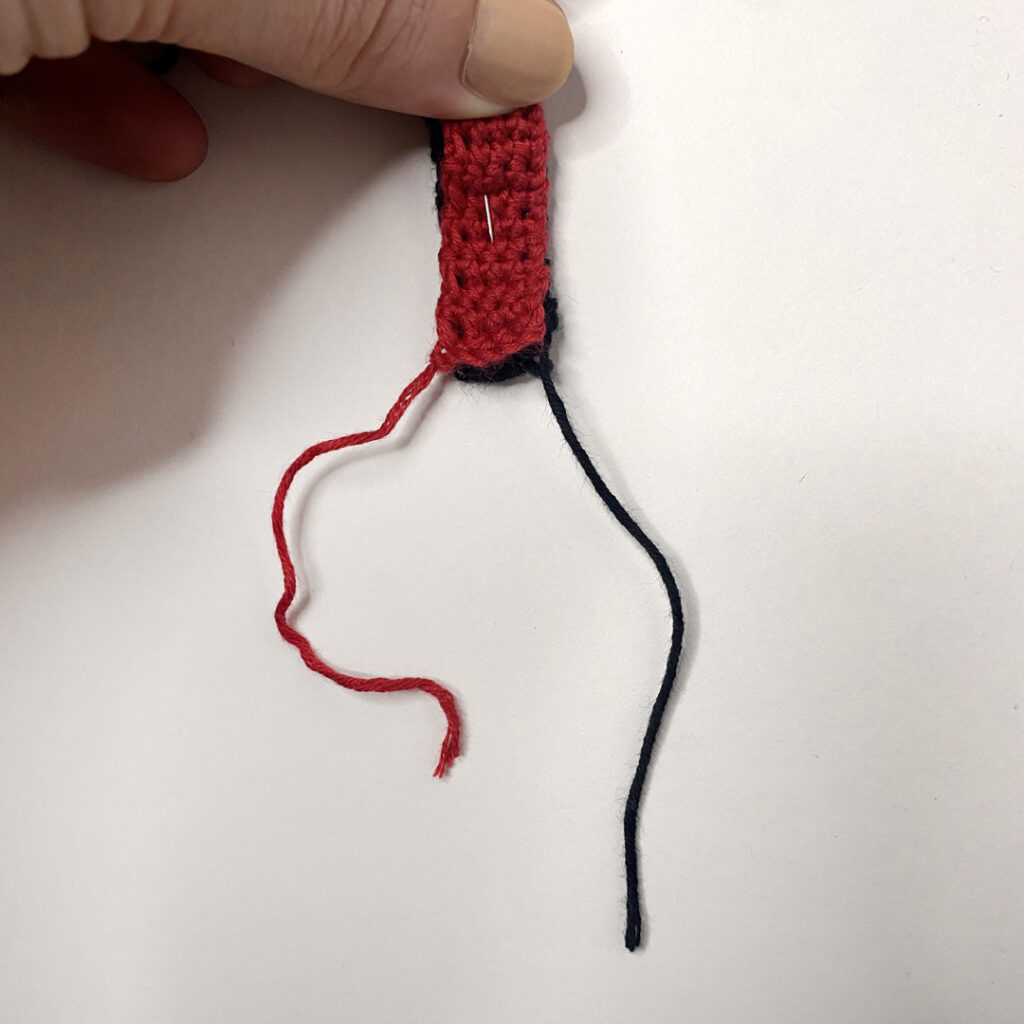
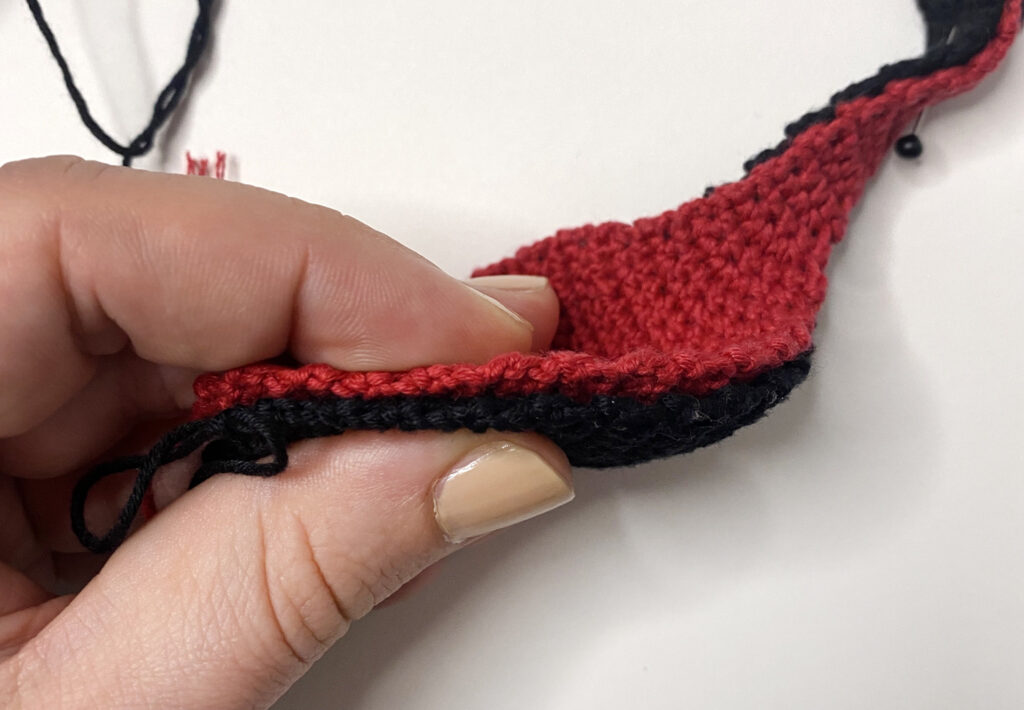
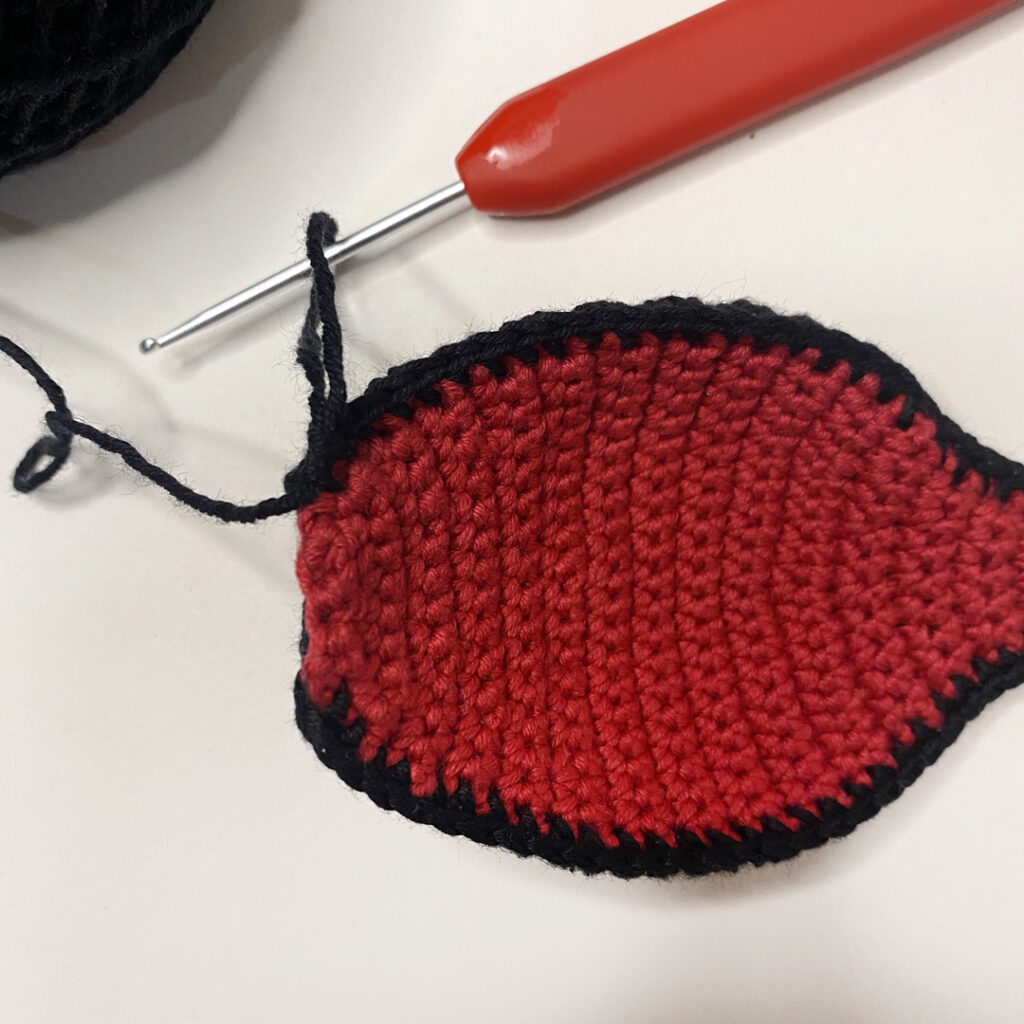
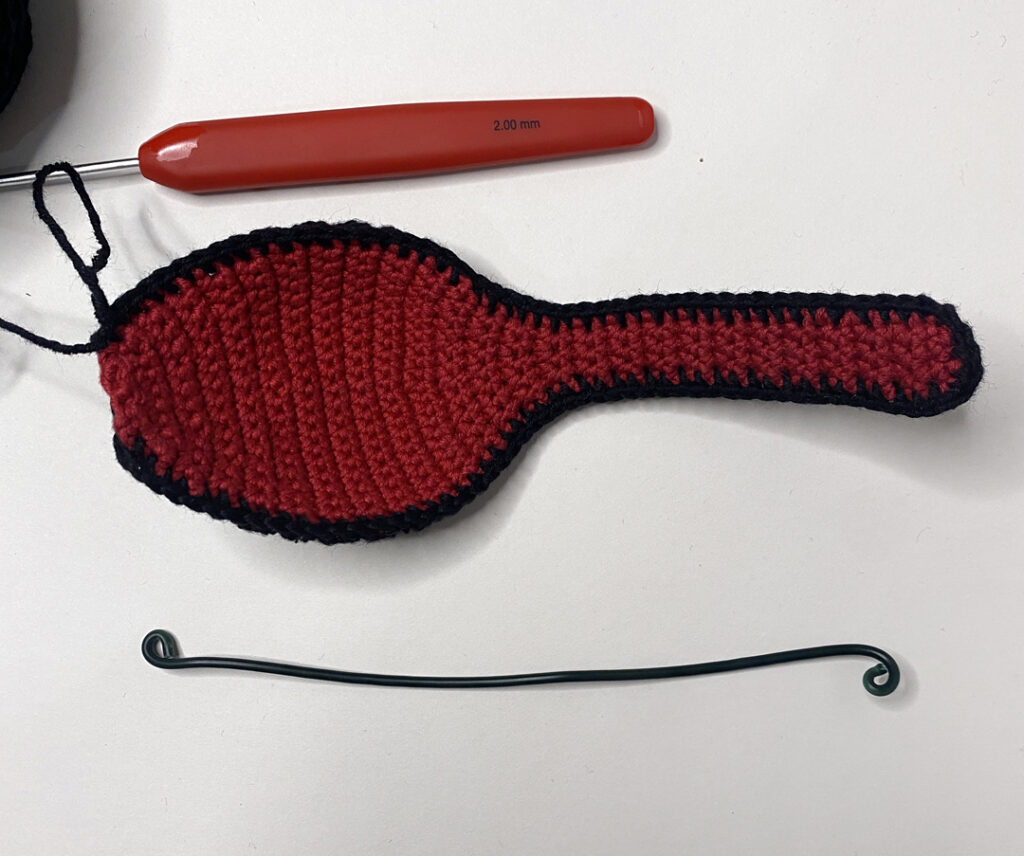
Place the red spoon on top of the black spoon – the top of the red spoon should have the ‘right side’ facing up (outwards) and the bottom of the black spoon should have the ‘right side’ facing down (outwards). You will be able to tell this by the starting yarn tail – the red starting tail should be on the left, and the black starting tail should be on the right side (photo right). You can pin them in place if it helps.
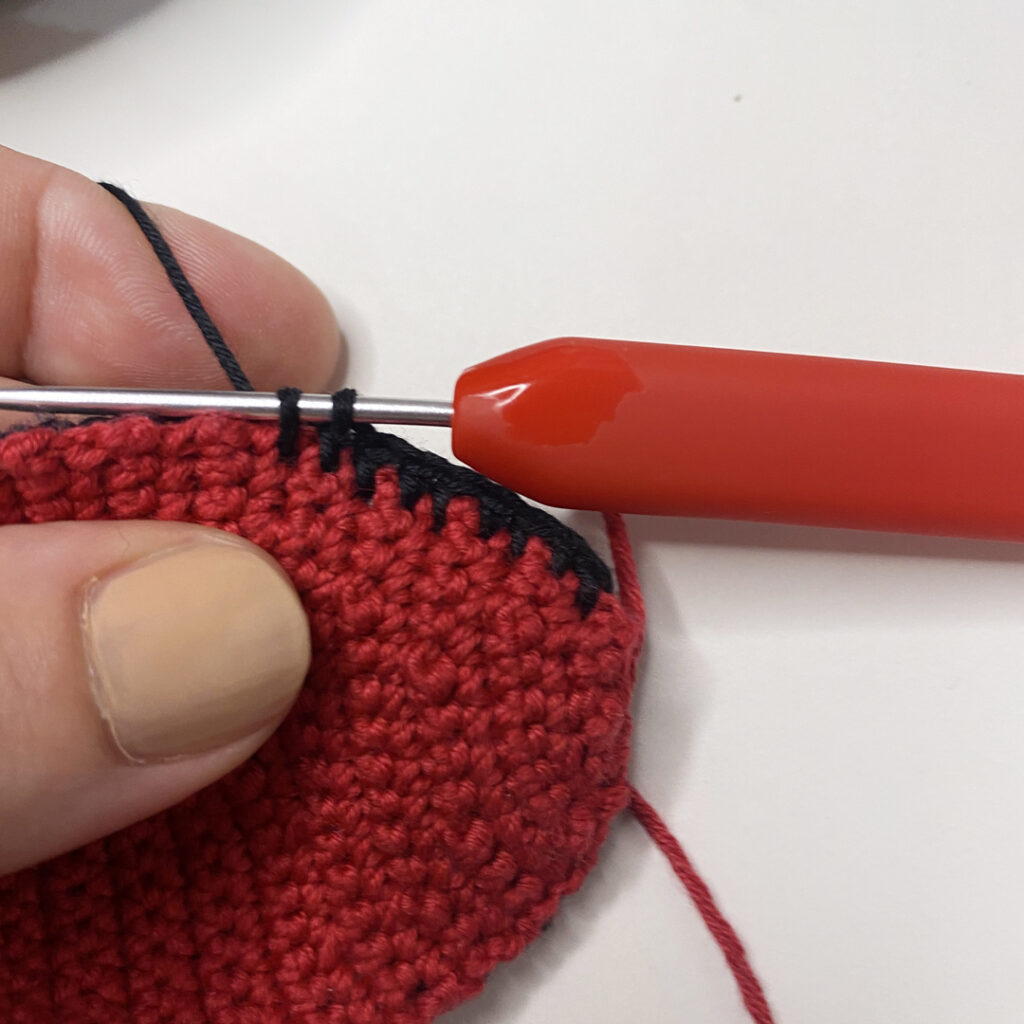
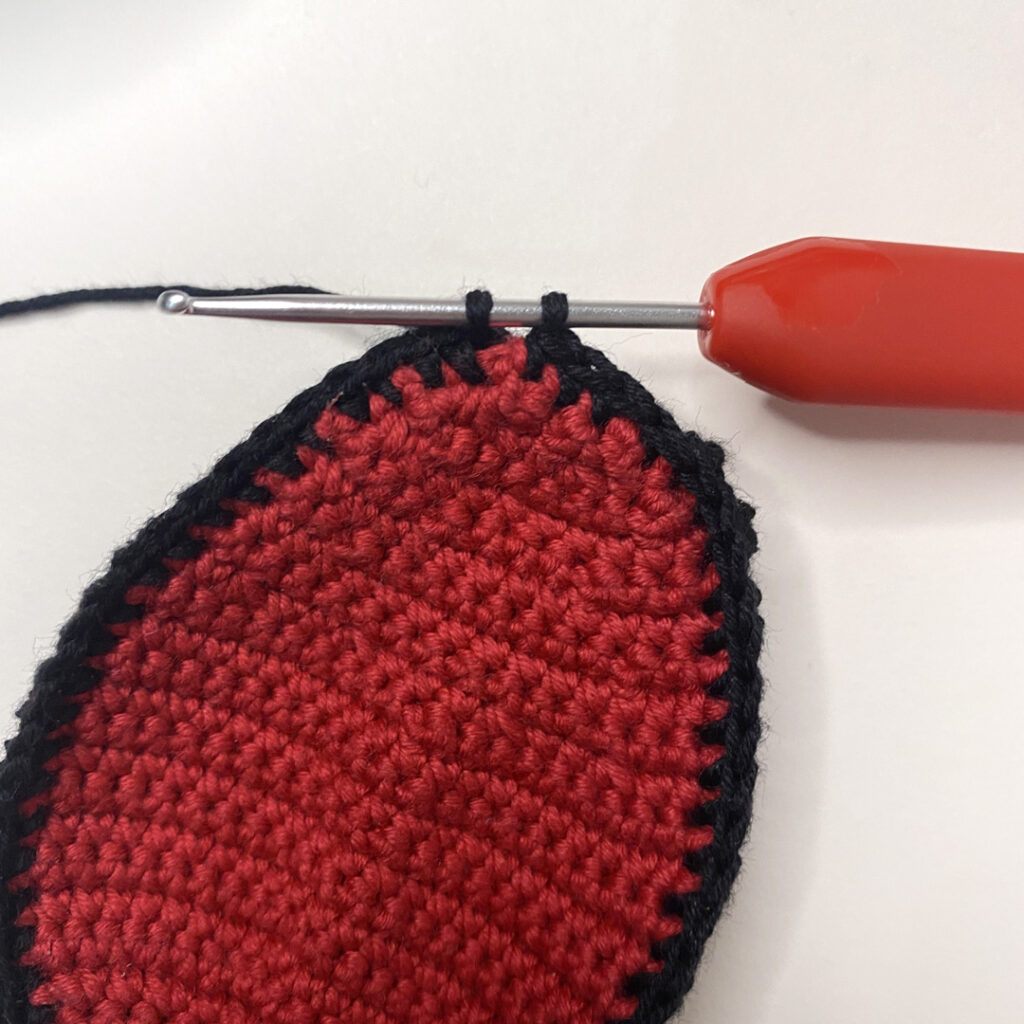
Carefully work 1 dc in the end of each row, working through both the red and black spoons. When you get to the top of the handle, work 4 dc across the top of both the red and black spoons, then continue working 1 dc in the other end of each row down the opposite side. If you intend to use wire to shape the spoon (recommended), stop when you get to the last 3 stitches. (photos below)

Cut a length of wire slightly longer than your spoon and curl the edges so they are blunt. (photo right) Insert the wire into the open end of the spoon and gently push it through until it reaches the end of the handle. Bend the wire to get your desired shape, then work the last 3 dc stitches to finish the spoon.

Sl st in the first stitch to join, then FO and weave in your yarn tail. (photo below)
 

…and you’re done!


Please note that the character Bao, their name and appearance are Copyright their original owners. I do not own the copyright, please respect the original copyright h0lders and do not sell these dolls as it would be a breach of copyright.


THANK YOU for making my pattern…I hope you’ve enjoyed it! I’d love to see your makes. Tag me on my Instagram Page, my Facebook Page or my Twitter Page!


If you would like to say thanks and support the making of more free patterns, I do have a Ko-Fi page – click the link below!


Please respect my pattern and do not sell, reproduce, copy or replicate for your own personal or commercial use. Please do not use my photos for your makes.

- Pin It! -